When a new little one arrives, the urge to give a thoughtful, personalized gift is almost instinctive. A DIY baby hamper feels like a warm hug in a basket—hand‑picked, organized, and brimming with love. But if you’re wondering, how do I assemble a DIY baby hamper?, you’re not alone. This guide walks you through every step, from planning to the final flourish, so you can create a treasure chest that parents will cherish.
The Planning Phase: Laying the Foundation
Before you dive into the craft, ask yourself a few key questions.
- What’s the occasion? Birthday, baby shower, or a simple “welcome” gift? Who is the recipient? New parents, grandparents, or a friend who’s just had a baby? What’s your budget? A DIY hamper can be as modest or as luxurious as you wish.
Once you have these answers, you can tailor the hamper’s theme and contents. Think of the hamper as a mini‑world where every item has a purpose—just like a well‑organized nursery.
> “Simplicity is the ultimate sophistication.” – Leonardo da Vinci
This quote reminds us that the most impactful gifts are often the simplest. A cluttered hamper can feel overwhelming; a curated one feels like a gift of calm.
Choosing the Right Materials: The Building Blocks
The right materials set the tone. Below is a quick https://jsbin.com/fujitozoja checklist for the core components:
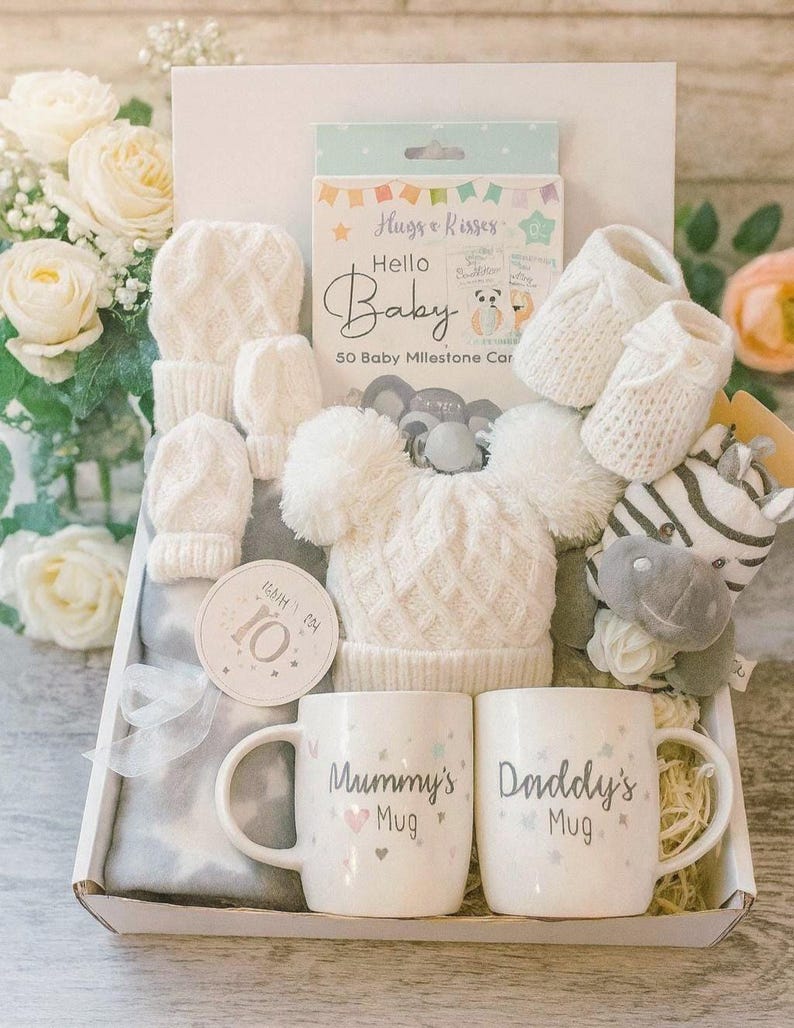
- Container: A sturdy basket, wooden crate, or a decorative storage box. Padding: Soft fabric, crinkled paper, or recycled tissue for cushioning. Labeling: Stickers, tags, or handwritten notes to guide the recipient. Finishing Touches: Ribbon, a small photo, or a custom label.
You can also consider eco‑friendly options—recycled baskets, organic cotton, or biodegradable packing materials. Parents often appreciate a green touch.
Tools and Supplies
- Scissors or a craft knife Glue gun or double‑sided tape Measuring tape (for sizing) Optional: a small sewing kit for fabric reinforcement
Step‑by‑Step Assembly: From Empty to Enchanting
Now that you have the tools, let’s assemble the hamper. This section breaks down the process into clear, manageable steps.
1. Prepare the Base
- Clean the container: Remove dust or old labels. Add padding: Line the bottom with a layer of fabric or crinkled paper. This prevents items from sliding and adds a touch of softness.
> Rhetorical question: Why settle for a plain basket when you can transform it into a cozy nest?
2. Curate the Contents
Choose items that are practical and meaningful. Here’s a versatile list that works for most parents:
- Diapers (pack a few packs for convenience) Wipes and a small bottle of baby lotion Soft hooded towel A small stuffed animal or plush toy A book or two for bedtime stories A personalized note or a photo of the baby
Mix and match based on the recipient’s style. If it’s a grandparent, maybe add a few homemade treats or a small keepsake.
3. Layer Strategically
- Bottom layer: Start with heavier items (diapers, wipes). Middle layer: Add medium items (towels, plush toy). Top layer: Place lighter, decorative items (book, photo).
Think of it like a stack of pancakes—each layer adds flavor without overpowering the others.
4. Secure and Seal
Use a small amount of glue or double‑sided tape to keep the padding in place. If you’re using a wooden crate, a gentle twist of a ribbon around the handle can add a finishing touch.

5. Add Personal Flair
- Label the hamper: Write “Welcome, Little One!” or “For the New Parents.” Decorate: A small sprig of dried lavender or a handwritten “From the Heart” can make a big difference.
Personal Touches: Making the Hamper Uniquely Yours
A DIY hamper shines when it reflects the giver’s personality. Consider these ideas:
- Hand‑painted accents: A few strokes of paint on a wooden crate can transform it into a piece of art. Homemade treats: Add a jar of homemade jam or a small batch of cookies. Family heirlooms: A small piece of jewelry or a hand‑knitted scarf can carry sentimental value.
Remember, the goal is to create a gift that feels as warm as a hug. Even a tiny detail can make all the difference.
Final Checks and Presentation: The Last Polish
Before you hand over the hamper, do a quick run‑through:
- Stability: Make sure the contents are secure and won’t shift during transport. Aesthetics: Check the overall look—does it feel balanced and inviting? Safety: Ensure no small parts that could pose a choking hazard are included.
When presenting, a simple “Here’s a little something to help you start this wonderful journey” goes a long way. Your enthusiasm will add to the hamper’s charm.
The Perfect Gift Awaits
By now you’ve turned an empty basket into a thoughtfully curated baby hamper. The process of how do I assemble https://zanderznjc339.yousher.com/the-ultimate-guide-to-choosing-a-baby-hamper-for-colleagues-with-baby-blankets a DIY baby hamper? is more than a craft; it’s a way to share love and support with new parents. The hamper stands as a testament to your care—a tangible reminder that you’re there for them.
As you step back and admire your work, remember this: the best gifts are those that come from the heart, no matter how simple or elaborate. Your DIY baby hamper, with its careful selection and personal touches, is a gift that will be treasured long after the first diaper change.
Take a moment to celebrate the small victories—each item chosen, each layer added, each ribbon tied. Your thoughtful creation is ready to bring joy, comfort, and a touch of magic to the newest member of the family.